Waldemar girls - get ready to drool, because you know what I'm talking about. Growing up, King Ranch Chicken was an absolute star dish at girl's camp on Saturdays. Soupy would ring, and girls would sprint to the Dining Hall, hoping to be first to enter the screen doors to get a break from the Texas heat. Back for siesta we would walk, stuffed, and ready for a mid-summers nap.
Am I right?
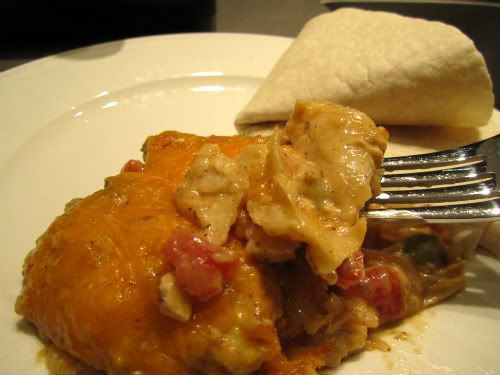
Well today, in the spirit of Texas nostalgia, I couldn't get this dish out of my mind. Though it's anything but a hot Texas summer day here in Cambridge today, King Ranch Chicken was calling my name. I needed to make something warm... cozy... comforting for my Hubby who was feeling under the weather. What better dish than this? It's equal parts creamy, spicy and delicious. Sure to satisfy hungry tummies everywhere, any time of year.
Warm it up in the winter with soft flour tortillas. Cool it down in the summer with a crisp wedge salad.
You just can't go wrong with this. From Hubby's Southern Living cookbook.
Ingredients
1 large onion, chopped
1 green bell pepper, chopped
2 tbsp veg. oil
2 C cooked chicken, chopped/shredded
1 can cream of chicken soup (shhh!)
1 can cream of mushroom soup (double shhh!)
1 can Rotel (tomato and green chile)
1 tsp chili powder
1/4 tsp garlic powder
1/4 tsp salt
1/4 tsp pepper
1/4 tsp cumin (my special addition)
6 flour tortillas (this is where SL and I disagree... flour is much more hearty for this big-flavor dish. Plus, that's the way we ate it at camp)
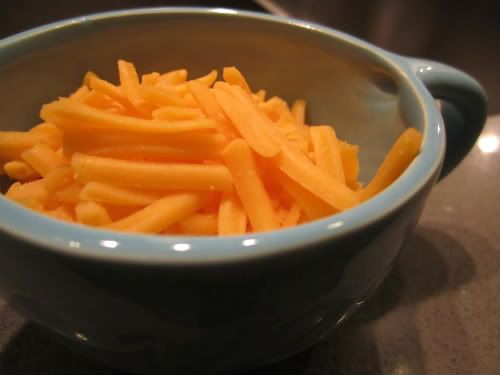
2 C shredded cheddar cheese
Pat of butter to grease baking dish
Directions
Preheat oven to 350.
Cook chicken (however you want... make sure it is seasoned and tender).
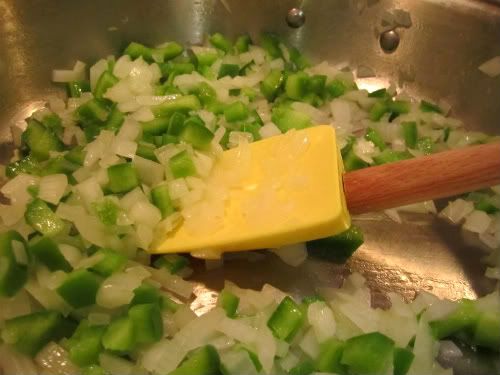
In large skillet over medium heat (maybe even your dutch oven), saute green bell pepper and onion until tender.
Chop/shred chicken once cooked (I used my shears to get it down to small bites) and add to onion/bell pepper.
Add cream of chicken soup, cream of mushroom soup, Rotel, chili powder, garlic powder, salt, pepper, cumin to the chicken/onion/bell pepper.
Stir together over medium/low heat.
Lightly butter a 9x13 baking dish.
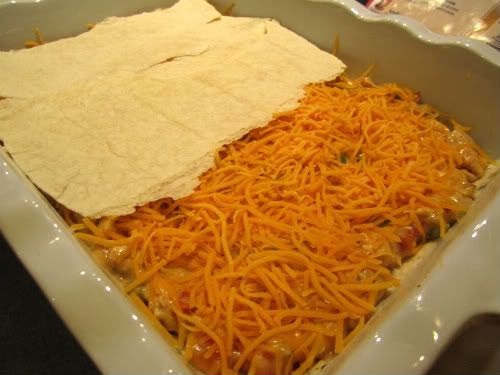
Tear tortillas into 1" strips and line the bottom of the baking dish.
Next, add 1/2 the King Ranch Chicken mixture and then cover with 1/2 the amount of cheese.
Repeat this two times (to make two total layers).
Bake at 350 for 30 minutes.
Serve and enjoy! SL says you can freeze this for up to a month, which rules, so take advantage! As for me, no more cooking till we get to Dallas later this week. This recipe makes a ton!
Monday, December 20, 2010
Friday, December 17, 2010
Weekend Warmer
Sometimes you just have to make something decadent.
We are big mac and cheese fans here. I think it runs in my family, as a kind of genetic trait that will inevitably pop up in generations of Broaddus/Roe/Lewises to come. One of my cousins (you know who you are) has dedicated a significant portion of her life to searching for the best mac and cheese on the planet. This is serious business. All that to say, we don't take mac and cheese recipes lightly and extensive research was conducted to ensure maximum deliciousness results from the below recipe.
The secret is simple: it's all in the cheese and the rue. Choosing a quality cheese is key for making sure your mac has enough savory flavor. Use this simple method below (adapted from Southern Living and Pioneer Woman) as a dish - or a starting point - for making an awesome creation. Think: diced ham, green chiles, shallots, bacon, broccoli. Your choice completely.
You'll notice we baked our mac and cheese at the last step - this is certainly not required. It is a good idea to bake it if you won't be serving it immediately. It also makes it very easy to transport and would make a fantastic delivery meal for a friend who has a new baby or needs some extra TLC. If you choose not to bake, then you can serve a creamy rich portion to your guests right when you finish stirring in the cheese.
Ingredients
4 C macaroni noodles (cooked till just before al dente)
1 egg, beaten
1/2 C butter
1/4 C flour
2 1/2 C whole milk
2 tsp dry mustard (I did not use and it was totally fine)
1 lb cheddar cheese (we used Australian cheddar - OH so good)
1/2 tsp salt
1/2 seasoned salt (I did not use, totally fine)
1 tsp pepper
Directions
If you're like me, measuring out your ingredients before you start makes cooking much easier, and even more fun! Sometimes I forget an ingredient or step here or there, so this step ensures I do everything to the T.
Preheat oven to 350 and butter a 9 x 13 baking dish.
Cook and drain the macaroni. Set aside.
Beat egg in separate bowl.
In dutch oven, melt butter and add flour; whisk together (medium-low heat) for five minutes. Whisk constantly so it doesn't burn.
Add the milk.
Add mustard (if you're using) and whisk until thick (5 minutes).
Turn heat to low and temper the egg (add some of the hot butter/milk to the egg and stir to bring it up to temperature... we're not making scrambled egg mac and cheese, silly).
Pour egg into dutch oven with other sauce and stir.
Add cheese, reserving 1/2 C and stir till melty melty.
Add S&P. Taste test and correct as needed.
Add cooked macaroni.
Now you have two choices:
A - Serve immediately.
B - Spread in buttered baking dish and pop in the oven (add remaining cheese on top, obvi).
If you choose B, bake for 20ish minutes until top cheese is bubbly and delicious. Option B allows you time to prep other parts of the dinner/clean your house/round up the kids/set the table. Option A allows you to tame the masses immediately!
Good luck!
My little helper fell asleep on me!
Wednesday, December 15, 2010
Roasty Toasty
It's a good day for a roasty toasty recipe today, because as I told you, it's COLD!
We find ourselves needing a Mexican food fix often. Quite often. Okay, daily. And as you might know, we have a weekly fajita ritual that brings us back to earth and is really a highlight of the week (well, meal-wise). Recently we've made the switch from regular bell peppers to poblano peppers and b-o-y we are not looking back anytime soon.
The tricky part here is: We have an electric stove. And we have no grill.
However shall we roast?
Fear not, we've confirmed this oven-roasting method for you apartment dwellers that is sure to deliver that straight-from-Mexico flavor in no time. Roasting is necessary and key for removing that waxy skin, and also getting your pepper as soft and delicious as possible.
Ingredients/Materials:
1 poblano pepper
Baking sheet/Silpat (remember Silpat? Not to say I told you so, but... )
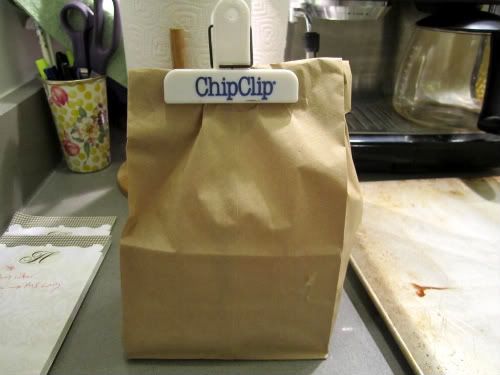
Paper lunch sack
Directions:
Preheat oven to 550 (or max temp without broiling)
Place pepper on Silpat on baking sheet and place in the oven
Roast your pepper for 6ish minutes per side until the skin turns black and blistery (you will think it is burning, but its probably not... but for goodness sake, please call 911 if it really is burning)
Remove the baking sheet from the oven and immediately use tongs to place your pepper into a brown paper bag and seal it tightly
Let it sit in the bag for 3-5 minutes
Remove the pepper from the bag and peel off the skin - easy as that! (If it's not peeling off easily, it might be because you didn't roast it long enough in the oven. Go ahead and toss it back in for a few more minutes until really black.)
Now carefully slice open the pepper and scrape all seeds off of the pepper
Cut the pepper into long thin slices and voila!
A welcome addition to any fajita menu; we toss ours in with sauteed onions and sliced, seasoned chicken (salt, pepper, chili powder, cumin).
Monday, December 13, 2010
Brrrr!
So I was naively skeptical when folks told me the Charles River would freeze over. How could it possibly get that cold?! Well, my friends, it got that cold. The good news is, I'm still alive to tell you about it.
The bad news is, we haven't even had our first snow yet (though it has already dropped to 11 degrees, as I noted on Facebook after walking little Dixie that morning), and I'm told the stuff could stick around until April. Gross.
Now, I'm no expert, but I hope you'll enjoy these cold weather tips from a Texas girl:
- Do not expose your skin in any form or fashion
- Tory Burch flats are not appropriate cold-weather footwear
- Earmuffs are much more forgiving than wool or knit hats for keeping hairdos intact
- Down > wool (but makes a mighty duo paired together)
- You can wear anything under a down coat (imagine trolling around town in a sleeping bag)
- Get gloves with the popover mitten thingy (JCrew "glittens")
- Give yourself 7-8 extra minutes to bundle up and get out of the house
- It's hard to be cute and warm
- Learn to love pale skin
- Keep wearing sunscreen - I still dab SPF 55 on my face daily
- And finally... stay in the house!
I know you won't believe me, but I'm truly trying hard to embrace this weather as "part of the experience."As I turn into an ice cube on my walk to the office, I just imagine those long, hot summer days in Dallas, with no end in sight to 105+ temps. Why must I always live in a city that produces temperature extremes? Let's see if we can get California on the agenda :)
So far, I've handled this first true cold bout well... but I'll give you permission to go ahead and ask me again in April when the river is still frozen. Then let's see how I've fared.
Here's to staying warm!
Saturday, December 11, 2010
It's the little things
I'm so loving a big cup of coffee this morning in our new mugs! We didn't bring quite as large a mug supply as we ended up needing here in Boston, so it was Williams-Sonoma to the rescue with these delicious basketweave treats:
They are ever-so-slightly more of a bluish-white than our creamy-white everyday china, but that is okay with me because they still look fab with our blue willow and manage to hold a quite large cup o' joe to help us ease into another day. The generous size allows optimal holding for early morning coziness. Plus, I'm really digging the basketweave and would be totally fine accumulating the rest of the set when we inevitably need more place settings (wink, wink). Close competition: Wedgewood Nantucket Basketweave, obvi.
Friday, December 10, 2010
Would you believe me?
If I told you these were both pictures of Dixie?
Poor little Dixie had to get a pretty major haircut because she's so darn fluffy, its easy to get tangles! Hopefully it will grow back fast because we sure love our little fluffball... in the meantime, Hubby and I think this new 'do is pretty funny!
We're taking Dixie back to Dallas with us- on the plane. Any pet carrier/pet travel tips are welcome :)
Have a great weekend!
Tuesday, December 7, 2010
They're here!
Oh What Fun Christmas Card
Shop Shutterfly.com for elegant Christmas photo cards.
View the entire collection of cards.
Happiness and Cheer
Christmas time is here! These are a few of my favorite things (in no particular order):
Poinsettias
Sparkly ornaments
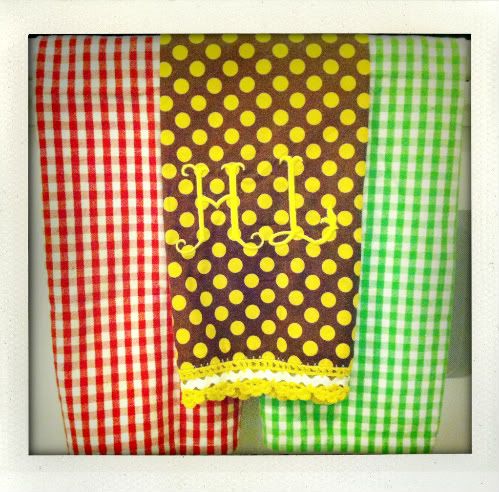
Festive Dishtowels (please note the brown/yellow cuteness Hubby's momma made for me! I love it so much that I force my other linens to match it, regardless of season)
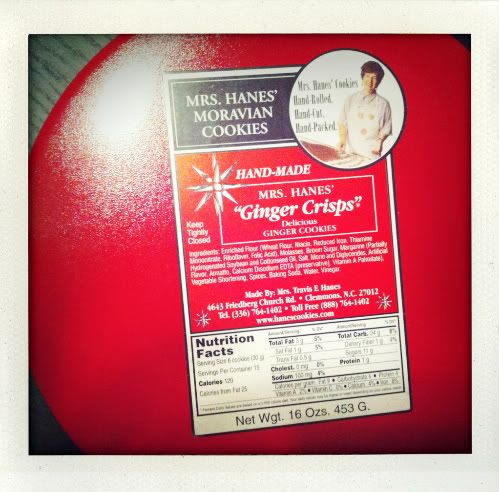
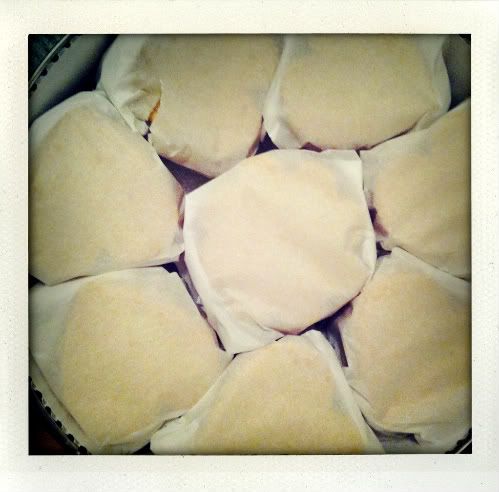
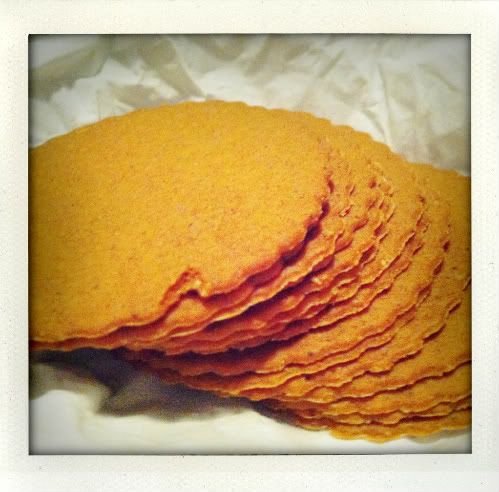
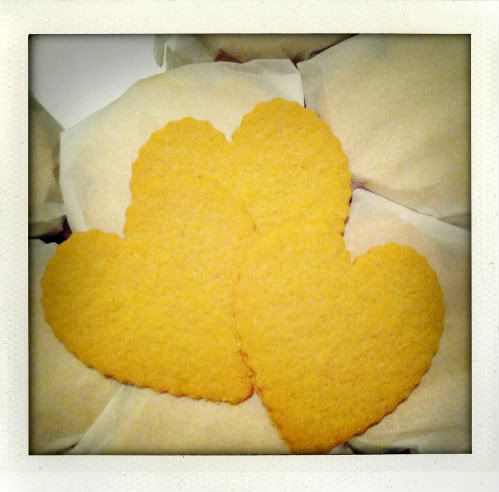
And the sure-tell sign it is Christmas at our house...the arrival of Mrs. Hanes' Moravian Cookies! It is always the first treat to arrive and signals the official start to our season. They are sent each and every year (for as long as I can remember in my 25 years!) by my sweet Aunt Barbara. The delicate stacks of cookies come wrapped in tissue paper inside a bright red tin. I always imagine that Mrs. Hanes has made them just for me! What could be more cheerful? Sugar crisps, ginger crisps... I'm not sure which is my favorite, but what I do know, is that they never last quite until Christmas between Hubby and me - these cookies + a sip of eggnog make our favorite midnight snack :)
Look who already settled down for a long winter's nap!
P.S. Shutterfly notified me that our Christmas cards are almost here!!! We received the return address labels, so here's a little preview of what's to come...
Can't wait to get the actual cards off and in the mail to our fams :) Remember last year's l-a-t-e card connundrum?
And no, that's not our real address, don't worry. Though it would be cool to live in unit 007.
Saturday, December 4, 2010
Subscribe to:
Posts (Atom)