Showing posts with label Fabio. Show all posts

Friday, April 9, 2010

Eggplant Parmesan

Welcome Spring with this savory Eggplant Parmesan with Fabio's Special Tomato Sauce. You remember Fabio, right? He taught me what I know about Italian cooking. As my culinary professor in Florence, he made feast after delicious feast out of traditional, simple, no-frills recipes handed down straight from his Venetian granny.

One of the best recipes he shared was this savory tomato sauce - it's the real Italian flavor your mouth is watering for!

Ingredients for sauce:
Tomato paste (we used 2 cans of Cento brand paste, but you can splurge for the pretty paste tubes if you'd like)
EVOO
Water
Salt/Pepper

Ingredients for Eggplant Parm:
1 large eggplant
Italian bread crumbs
4 eggs
Mozzarella and Parmesan cheese... I'll leave the quantity up to you. We used... a ton!

Directions:
You will not believe how easy this is.

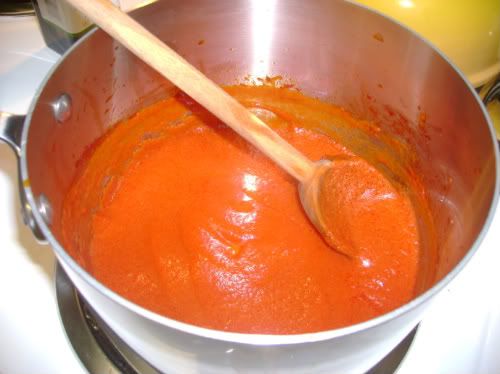
First, heat a couple tablespoons of EVOO in a sauce pan. Next, add tomato paste - you want it to melt in the oil. Add water as needed (about a cup or so?) to thin the sauce. Don't forget plenty of salt as pure tomato paste like this is super-concentrated and in dire need of seasoning.

That's it! Here's what it looks like when you're done:


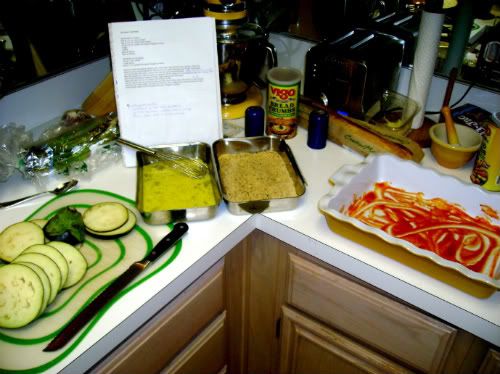
Ahhh. Now, let's get to the Parmesan. Prepare a 9x13 baking dish with sauce spread across the bottom (use more than I did in the below picture for better results). Slice the eggplant into thin round slices and set aside. Then prepare two other dishes, one with a couple of eggs whisked thoroughly and the other with Italian bread crumbs. This will be your little eggplant parm assembly line:


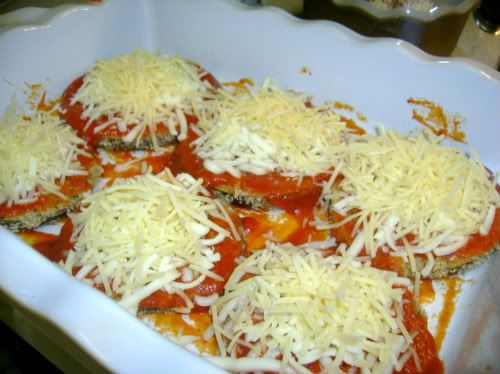
Take those eggplant slices through assembly and place in your sauced baking dish. Cover the slices with another round of sauce and plenty of mozzarella and Parmesan cheese.


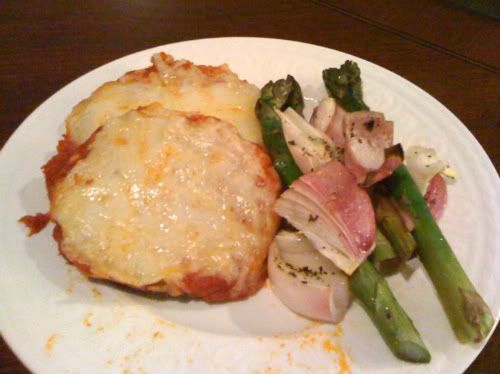
Oh - to round out my meal, I made this easy (but really pretty!) side of roasted red onions and asparagus. Season with EVOO, S&P and dried basil. Bake at 400 for about 15-20 minutes.


Bake your eggplant parm at 350 for about 30 minutes. Keep your eyes peeled for golden bubbly cheese and then you're all set.

Serve and enjoy!


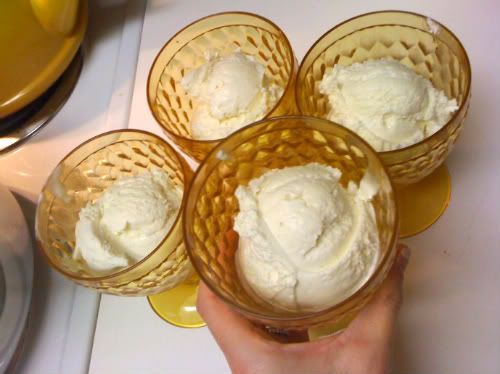
Obviously, we can't live without ice cream, so Hubby made some delicious handmade vanilla with our favorite toy: the ice cream maker.


This recipe also makes fantastic leftovers!


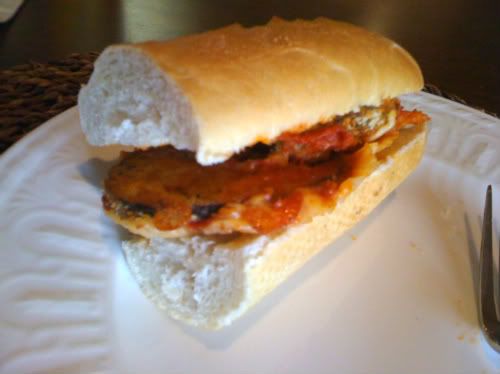
The best part is... you don't even need to feel guilty about this delicious "splurge." After all, eggplant is a healthy veggie and we've baked it instead of traditional frying.

Enjoy!

Tuesday, March 10, 2009

Tasty Tuesday

If you're anything like me, you've scoffed at the couples who register for items that are, say, too specific. Are you really going to make homemade ice cream every week? Perfectly pressed paninis? Inside-out waffles? Oh, lets not forget my favorite: the meat grinder. Sometimes, aspirations of being a thorough homemaker are hard to carry to fruition...which brings me to my next point: Handmade pasta.
(thank you, kitchen heaven!)

Now before you get upset because you own AND use some of the aforementioned items, please know that I do realize that the need for such kitchen tools is quite necessary for lovers of a particular fare. As for hubby and me, that necessity is handmade pasta. Let me publicize here and now the fact that we are the proud owners and USERS of a Kitchen-Aid pasta roller attachment. Our handy attachment actually gets put to work regularly at our home. With a little foresight, you too can take a Saturday afternoon off and make a homemade Italian creation, all in the comfort of your own home. 

Don't panic! Making handmade pasta is easier than you think. 

Ingredients:
1 C. flour for every 1 egg (this ratio is roughly one serving)
2tbsp EVOO (extra virgin olive oil)
lots of free space on the counter

First, pour the flour on your counter (yes, on your counter, not in a container- you have 409 for later, don't worry). Next, use your fingers to shape the flour into a ring (should look donut-ish). Then, crack an egg in the middle of the flour, and use your fingers to gradually beat the yolk and stir it into the flour. Too sticky? Add more flour. Too dry? Add your EVOO.

After you arrive at what could be called a dough, roll pasta into a ball and wrap securely in seran wrap. Let sit for 15-30 minutes.

Now you're ready to roll. Don't have a pasta attachment? That's ok! I had never used one until a few months ago, you'll be fine. Roll your pasta into small, manageable, fist-size balls. Then pass through the roller. Those of you who are making it without machines (my Italian chef professor, Fabio, called machines "robots!"), use a rolling pin to get the pasta to a thickness of about 1/8".  The thickness is really a personal preference. Cut your pasta into desired shape using cutting attachments, or paring knives. 

If you are making specialty noodles, like ravioli, you can "stamp" out your squares quite easily with a simple $6 ravioli stamper from a kitchen supply store. Here is what it looked like when we made our ravioli last week:


then we added ricotta and basil filling...


ravioli becomes naturally adhesive when you wet the edges of the squares

because homemade pasta deserves homemade sauce (recipe coming soon!)

amazingly, ravioli floats when its done cooking... talk about easy!

ta-da! we use our rim soup dishes to serve one-dish meals like this


 Happy pasta-making!

LinkWithin

Related Posts with Thumbnails