
What perfect pie crust wouldn't start with shortening and butter? The original recipe is 100% shortening, but Hubby and I normally use half of each.... for no reason other than it's a little hard to put any shortening at all in a recipe these days :) But if you're up for the risk, it certainly is delicious. You will have a dreamy, flaky crust... but if it is the rich, buttery flavor you are after, then butter is your best friend. Well, Hubby and I just can't decide what is better, so we just do both. So here's the rest of the method.
Ingredients:
For one single pie crust*
1 1/2 C sifted all-purpose flour
1 tsp salt
1/4 C butter
1/4 C shortening
4-5 Tbsp ice cold water
*Double if making two pie crusts, for top and bottom
Directions:
Sift flour and salt into large mixing bowl
Add shortening and butter, cut into small pieces
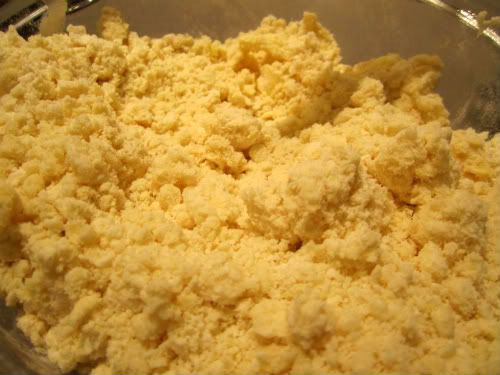
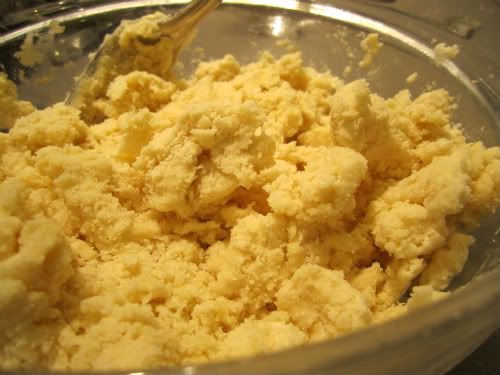
With a fork or food processor, quickly and gently stir, being careful not to over-stir
The dough should take a mealy, course texture
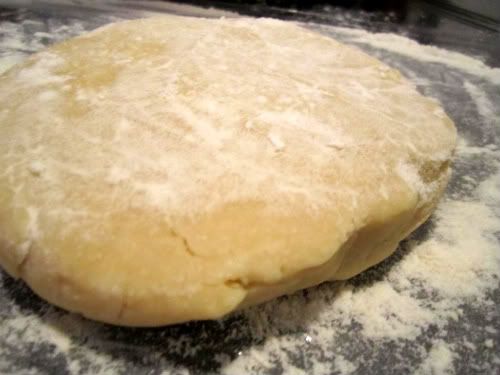
Work dough into thick disc and wrap tightly in saran wrap (if using doubled recipe, make 2 thick discs)
Refrigerate for 30 minutes
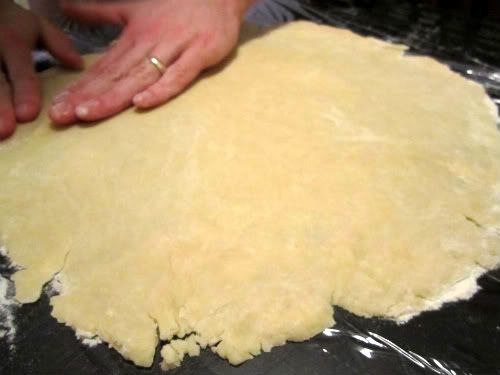
After 30 minutes, flour a flat surface and carefully roll out the dough, so as not to create any new cracks (this is really hard)
Roll out the dough until it is just larger than your pie dish
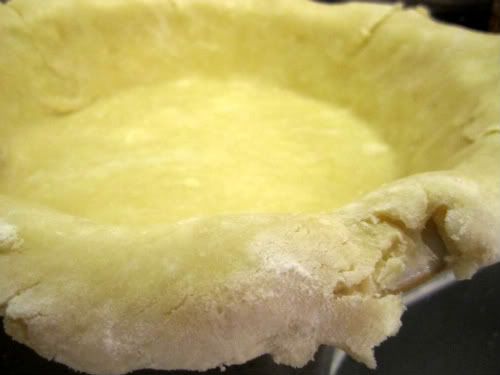
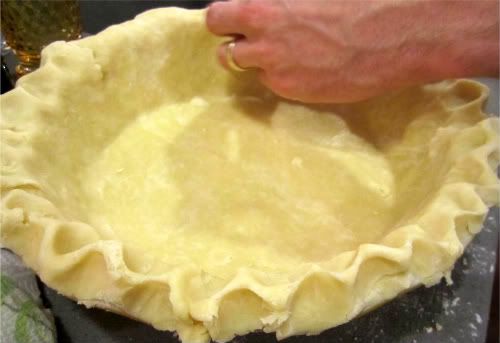
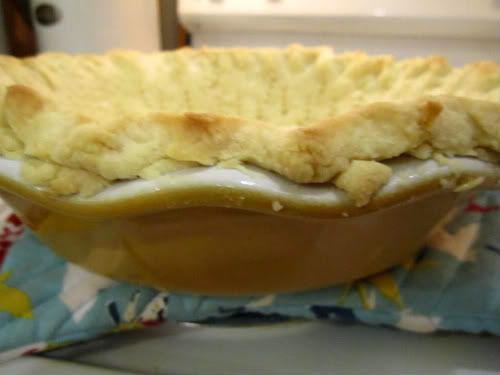
Place dough in pie dish, careful not to handle it too much
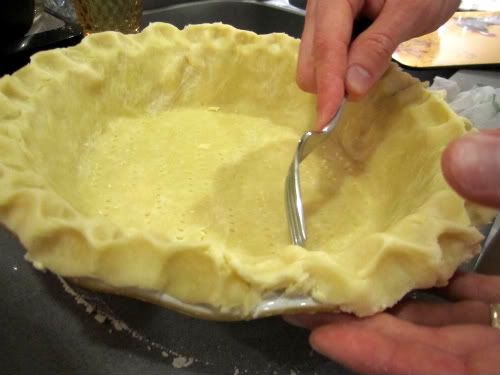
Shape the edges how you like (we used the thumb method below, but another idea is to crimp the edges with a fork)
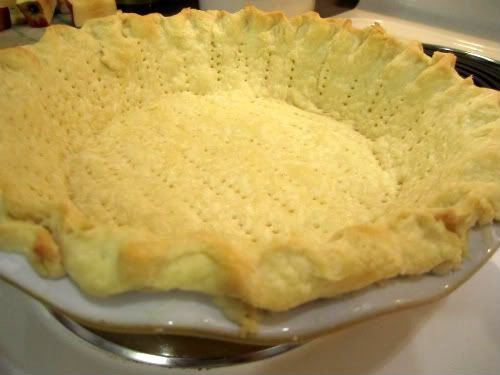
Bake the bottom crust until light golden color (maybe 15 minutes at 350)
Let the crust cool completely, and then add your filling
If making a crust for topping, add it now and take care to cover the edges so they don't burn; we use aluminum foil, but you could get fancy and buy a reusable one (note to Santa: this would be a great stocking stuffer - oh, shameless - on with the recipe!)
For a flaky and beautiful presentation, paint your crust lightly with water (use you pastry brush) and then dust with granulated sugar
During baking, of course keep the oven door closed without too much peeking, but if you must, then check to ensure no portions of the crust are burning; if something looks fragile, cover it with foil
Enjoy!


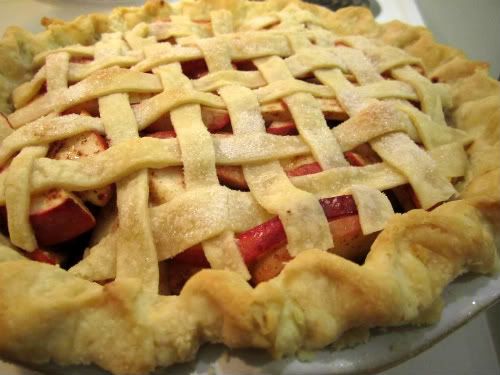
As you can see, this is from when we made our apple pie a couple weeks back, but you can use it for just about any of your crust needs. It would've been excellent with our chicken pot pie, and we plan to make it again on Wednesday to go with Paula's Pumpkin Pie. This pie is really divine if you're looking for a (decadent) pumpkin pie recipe for your Thanksgiving table. I'm planning to bring mine to Uncle Mikey and Aunt Diana's house for our East-Coast Roe Thanksgiving celebration. More on that to come!
We can't wait for you to visit and we're eagerly anticipating the first bite of your yummy pumpkin pie! Safe travels!
ReplyDelete